interimage:examples:example2
Tabela de conteúdos
Example 2 - Performing a intra-regions segmentation
This example shows how to perform a simple segmentation and teaches some basic concepts about the interpretation process.
Database
Step by step
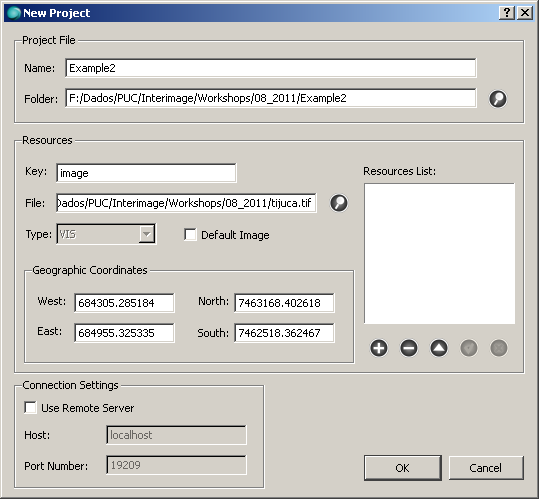
- Start InterIMAGE. Click on File → New Project and fill the fields according to the following:
- Check the Default Image checkbox and click the Add button.
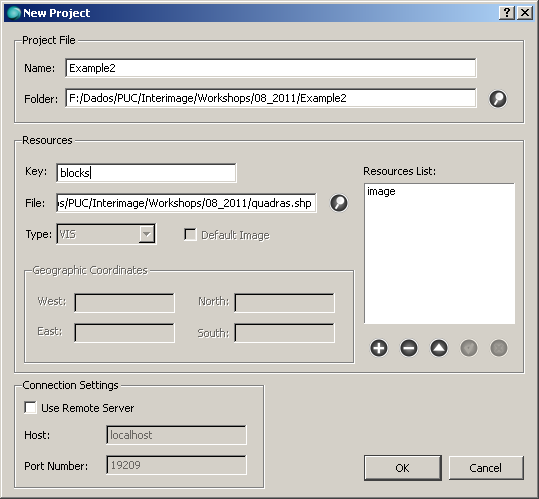
- Add the shapefile quadras.shp. Click the Add button. After, click OK.
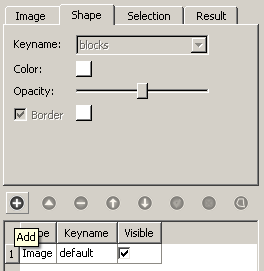
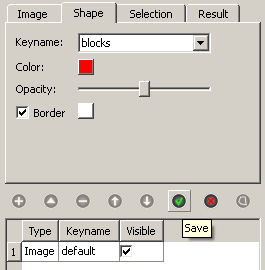
- Select the Shape tab and click the Add button. Set its Color to red, then click Save.
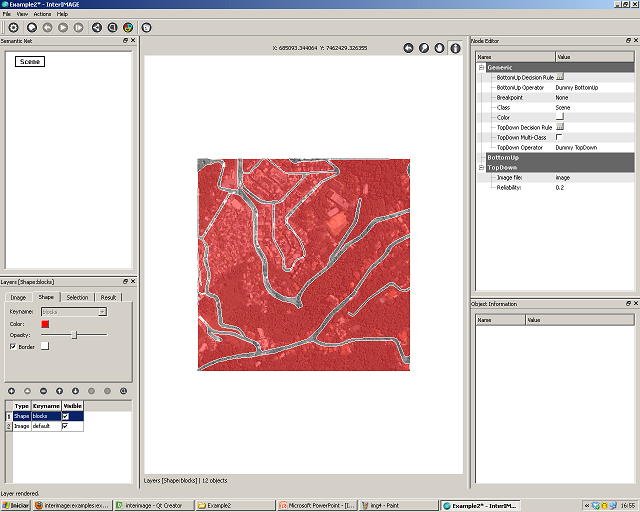
- Now, you should see something like this:
- After, uncheck the Visible checkbox of the shape layer.
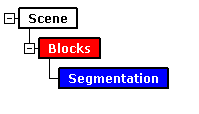
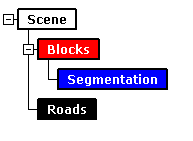
- Create a semantic net like this one:
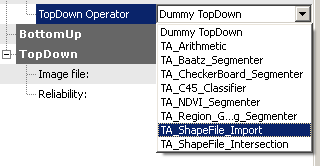
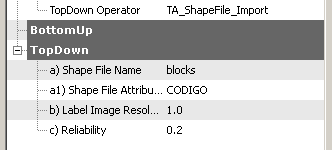
- Associate the TA_Shapefile_Import operator to the Blocks node. Set the operator parameters according to the image below. The CODIGO attribute is the block code in the shapefile.
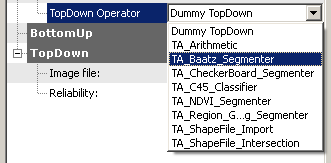
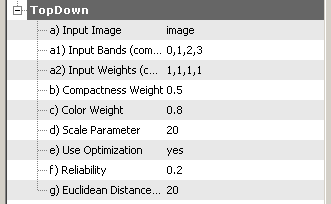
- Associate a segmentation top-down operator to the Segmentation node. We will use the TA_Baatz_Segmenter operator in this example. Set the operator parameters according to the following:
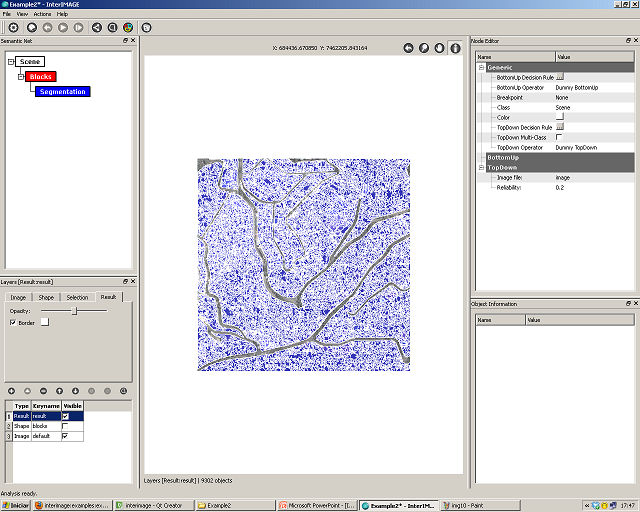
- Click on File → Save Project. Click the Execute button. After the execution you should see something like this:
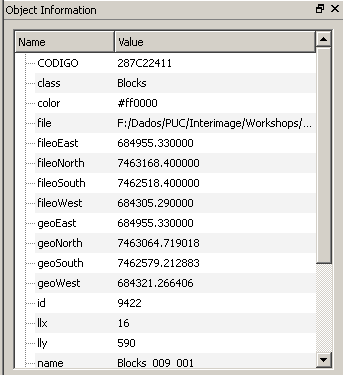
- Collapse the Blocks node. Once it's collapsed, select an object and see its attributes in the Object Information widget. Note that each block turned into a separate object and that the CODIGO attribute was successfully imported by the operator.
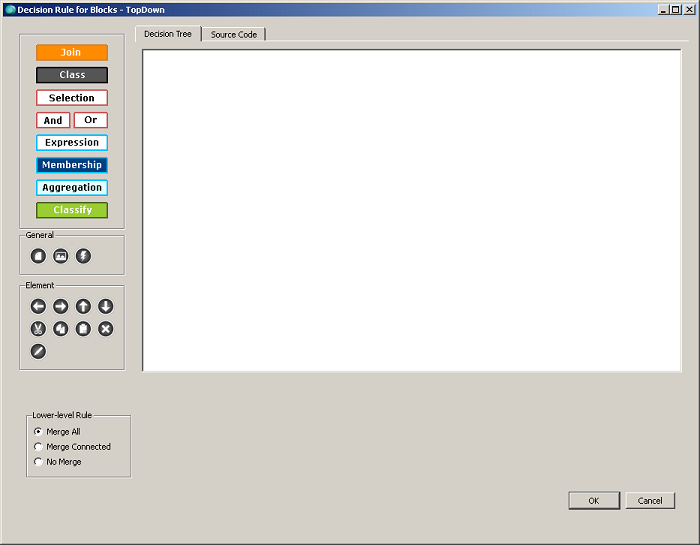
- Expand back the Blocks node, select it and click the TopDown Decision Rule button.
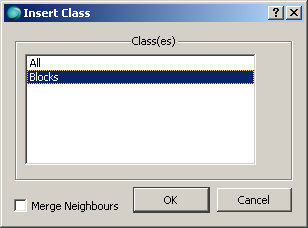
- In the dialog that appears click the Class button and select the Blocks class. Click OK. Make sure that the Merge All option is selected and click OK again.
- Save the project and re-execute the interpretation.
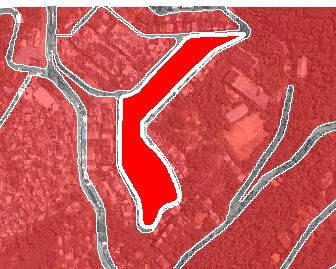
- Once the analysis is ready, collapse the Blocks node. Select an object and see its attributes in the Object Information widget. You should note that all blocks were merged into a single object. That's what the Merge All feature does.
- The previous behavior can be achieved again by selecting No Merge in the TopDown Decision Rule dialog.
- Add a Roads node to the semantic net:
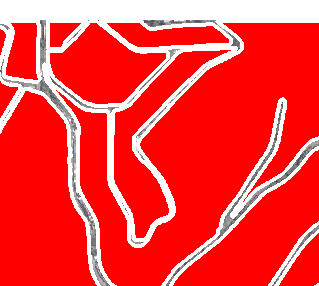
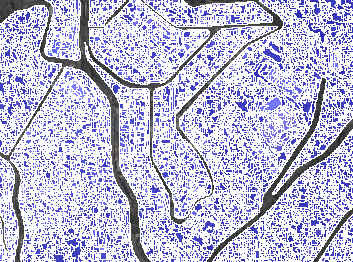
- Save the project and re-execute the interpretation. The result is explained by the default operator associated to the Roads node: Dummy Top-Down. It produces a hypothesis of Roads over the entire scene, so what's not Blocks (the gaps in the previous result) will automatically be classified as Roads.
- The result can be better viewed if the Blocks node is collapsed. Try it out!
interimage/examples/example2.txt · Última modificação: 2011/08/22 18:47 por rsilva

