This is an old revision of the document!
Table of Contents
Example 3 - Performing a supervised classification
This example shows how to perform a supervised classifiation using InterIMAGE.
Database
Step by step
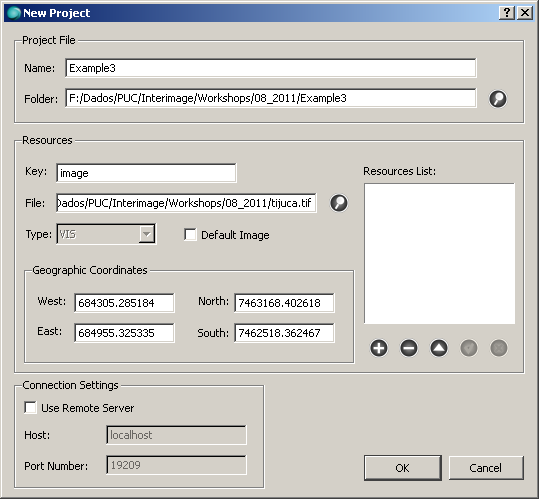
- Start InterIMAGE. Click on File → New Project and fill the fields according to the following:
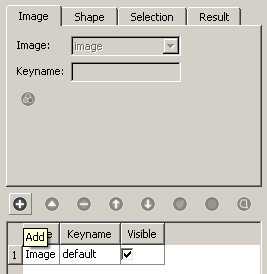
- Check the Default Image checkbox and click the Add button. Click OK.
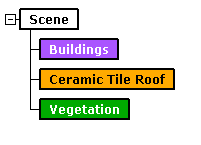
- Create a semantic net like this one:
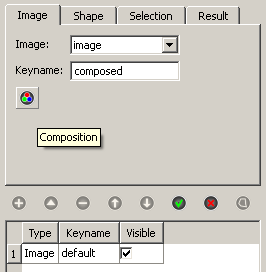
- Select the Image tab and click the Add button. Set its Keyname to composed and click the Composition button.
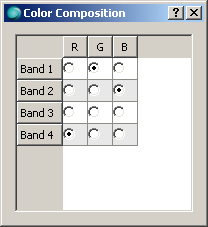
- In the dialog that appears set the color composition according to the image below:
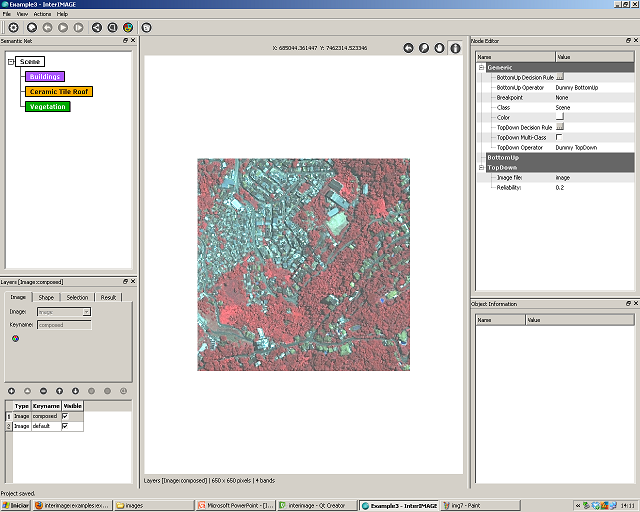
- Close the dialog. Click Save. Another image layer is added and you should see something like this:
- Save the project. Select the Scene node and click the Samples Editor button.
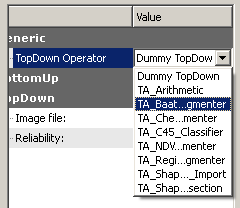
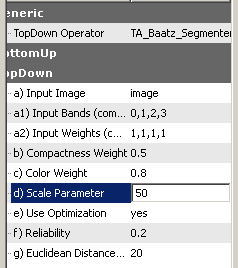
- Maximize the window that appears. Select the TA_Baatz_Segmenter operator. Set its parameters according to the following:
- Click the Segment button. Once the segmentation is finished, make sure the Buildings class is selected and click the Collect Samples button.
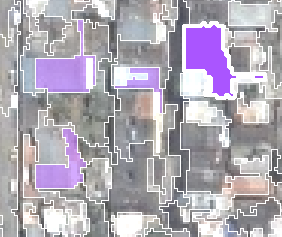
- Now, click on some objects that belong to the Buildings class (To deselect an object just click it again).
- When you are done, repeat the process to the other two classes. Setting the Background Image to the other composition created previously can be helpful here.
- After, click the Collect Samples again, deselecting it.
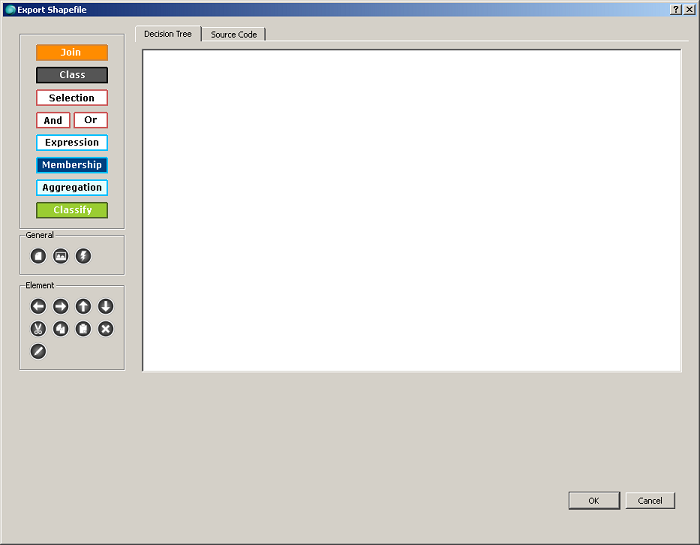
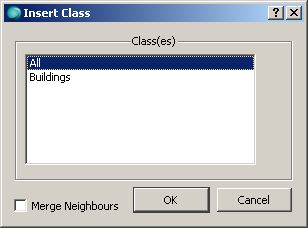
- Click the Export button. In the window that appears click the Class button. Select All and click OK.
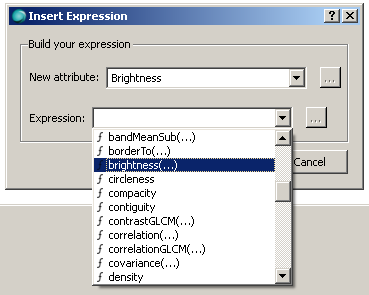
- Click the Expression button. Set the fields according to the image below:
- After, create another three expressions. Your decision rule should look like this:
- Click OK. Set the file name to samples.shp and Click Save.
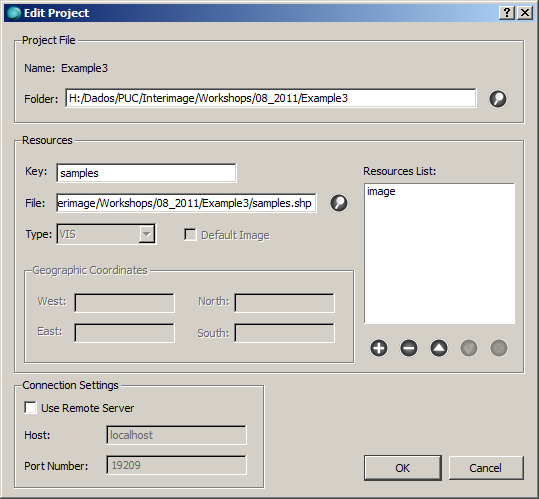
- Save the project. Once the project is saved click on File → Edit Project. Fill the fields according to the following:
- Click the Add button and then click OK.
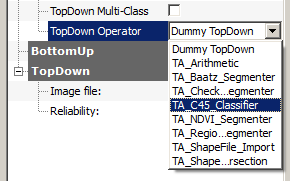
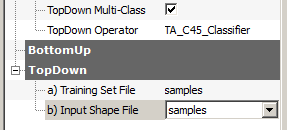
- Associate the TA_C45_Classifier top-down operator to the Buildings node. Set the operator parameters according to the image below. Make sure the TopDown Multi-class checkbox is checked.
- Save the project and execute the interpretation.
- You can improve your classification collecting more samples for the classes that presented more confusion and repeating the process.
