interimage:examples:example3
Essa é uma revisão anterior do documento!
Tabela de conteúdos
Example 3 - Performing a supervised classification
This example shows how to perform a supervised classifiation using InterIMAGE.
Database
Step by step
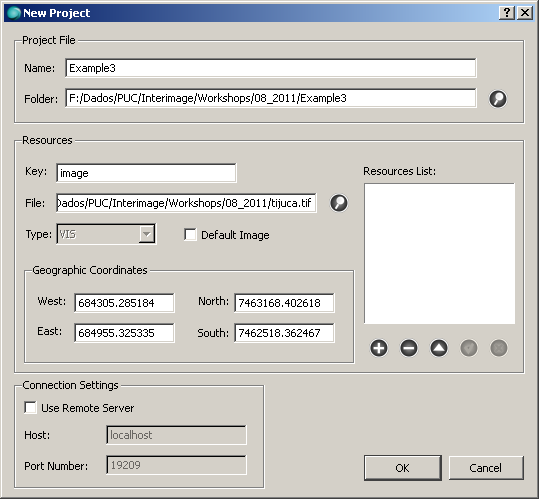
- Start InterIMAGE. Click on File → New Project and fill the fields according to the following:
- Check the Default Image checkbox and click the Add button. Click OK.
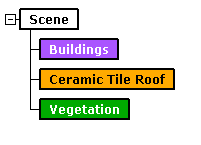
- Create a semantic net like this one:
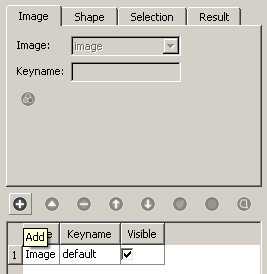
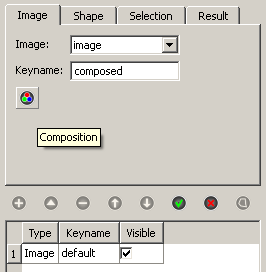
- Select the Image tab and click the Add button. Set its Keyname to composed and click the Composition button.
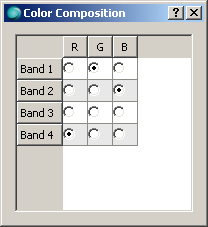
- In the dialog that comes up set the color composition according to the image below:
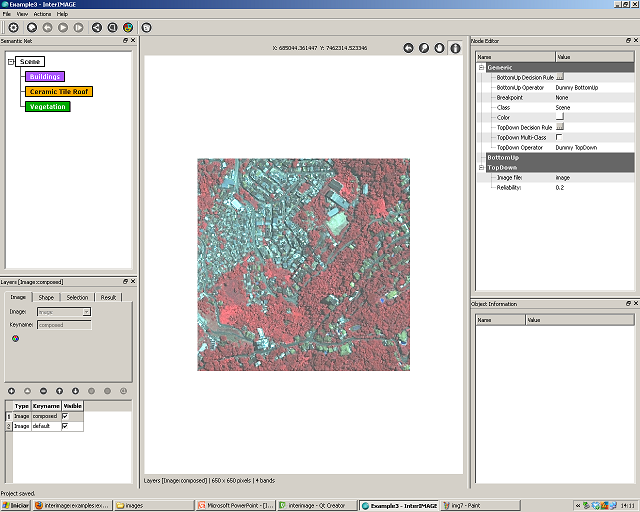
- Close the dialog. Click Save. Another image layer is added and you should see something like this:
- Save the project. Select the Scene node and click the Samples Editor button.
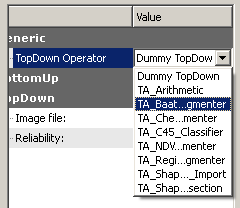
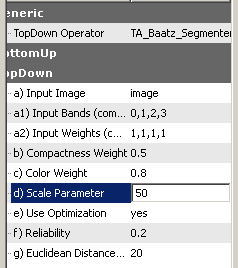
- Maximize the window that comes up. Select the TA_Baatz_Segmenter operator. Set its parameters according to the following:
- Click the Segment button. Once the segmentation is finished, make sure the Buildings class is selected and click the Collect Samples button.
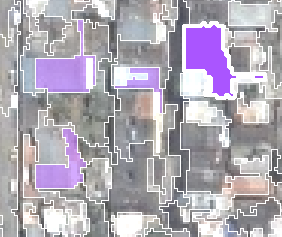
- Now, click on some objects that belong to the Buildings class (To deselect an object just click it again).
- When you are done, repeat the process to the other two classes. Set the Background Image to the other composition created previously can be helpful here.
- After, click the Collect Samples again.
interimage/examples/example3.1313173943.txt.gz · Última modificação: 2011/08/12 18:32 por rsilva

