interimage:examples:example1
Tabela de conteúdos
Example 1 - Performing a segmentation
This example shows how to perform a simple segmentation and teaches some basic concepts about the user interface.
Database
Step by step
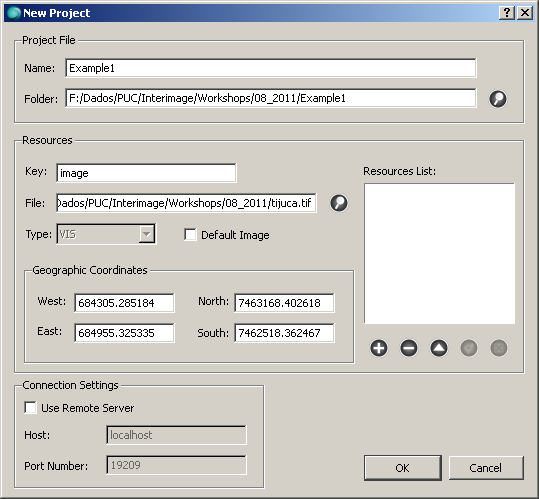
- Start InterIMAGE. Click on File → New Project and fill the fields according to the following:
Attention! Make sure the resource key you type in this dialog doesn't match a class name in your semantic net, otherwise InterImage won't run properly.
Attention! Make sure the keys, names and paths in your project don't have white spaces or non-ASCII characters, otherwise InterImage won't run properly.
- Check the Default Image checkbox and click the Add button. Click OK.
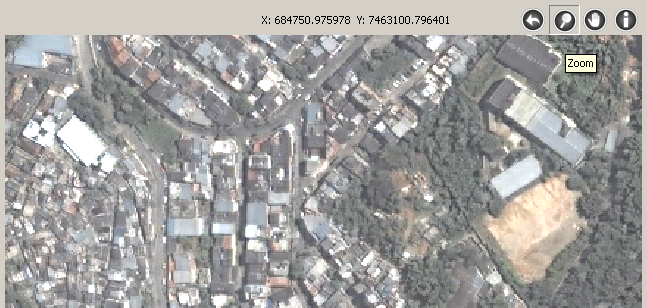
- Try the visualization tools: Pan, Zoom etc.
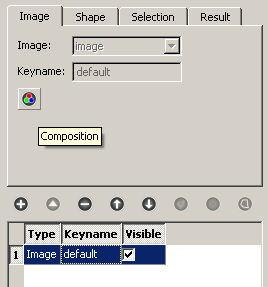
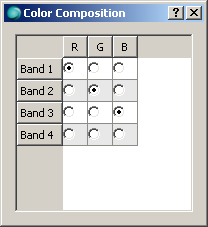
- Select the image layer and click the Composition button. Try different compositions.
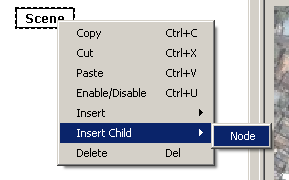
- Right-click the Scene node and click on Insert Child → Node. Select the inserted node and set its Class to Segmentation and its Color to blue. This will be our semantic net for this project.
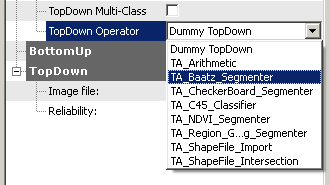
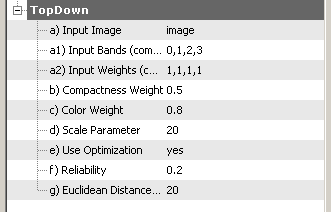
- Associate a segmentation top-down operator to the Segmentation node. We will use the TA_Baatz_Segmenter operator in this example. Set the operator parameters according to the following:
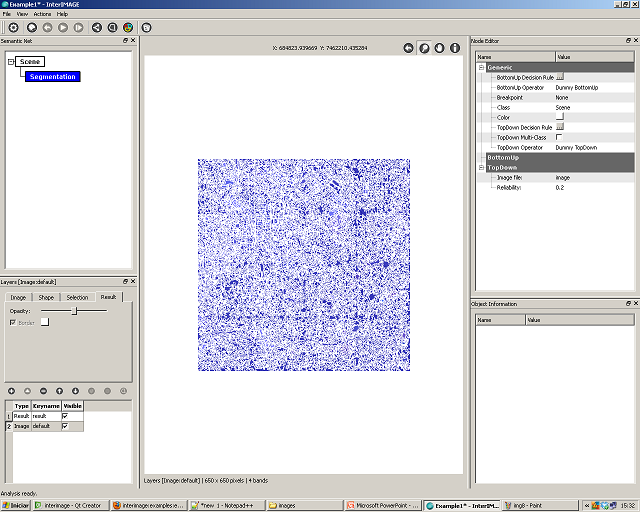
- Click on File → Save Project. Click the Execute button. After the execution you should see something like this:
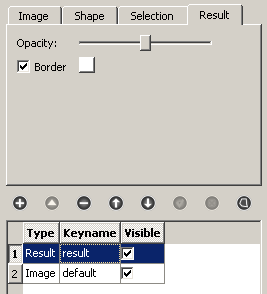
- Select the result layer and try different border and opacity settings.
- Now, you may want to try different values for the segmentation operator parameters. Just make the changes and re-execute the interpretation. You can also try another operators, our Operators Documentation can be helpful.
Exporting a shapefile
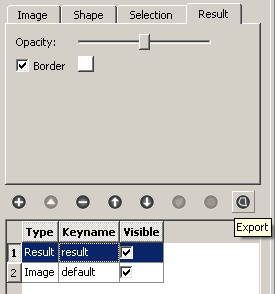
- Select the result layer and click the Export button.
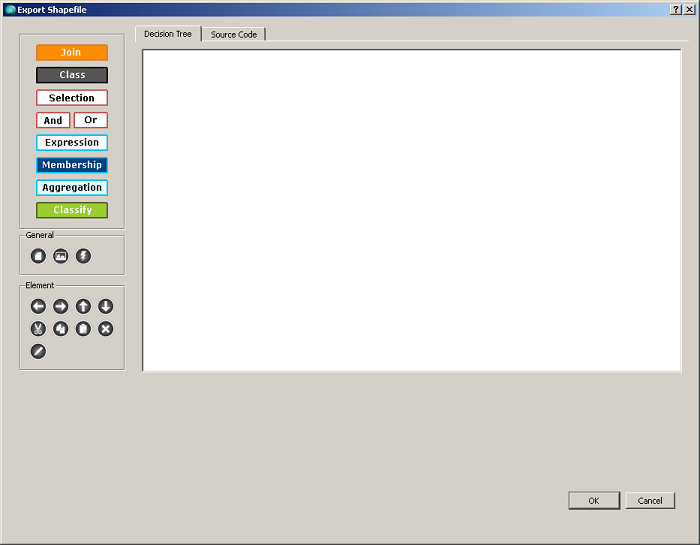
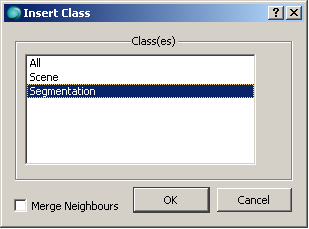
- In the dialog that appears click the Class button and select the Segmentation class. Click OK.
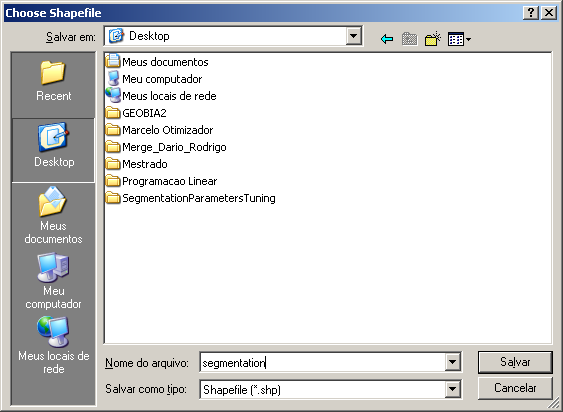
- Click OK and select a name for your shapefile. Click Save.
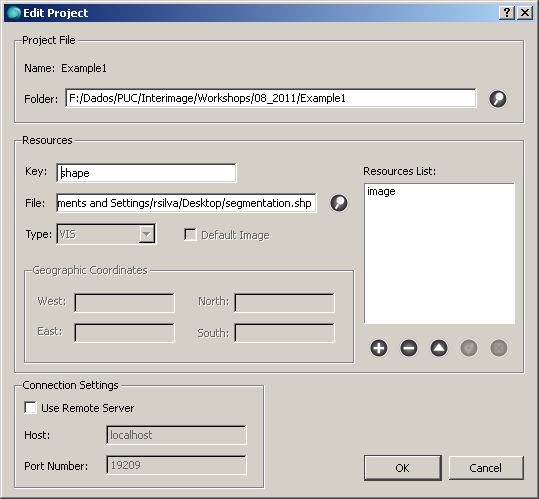
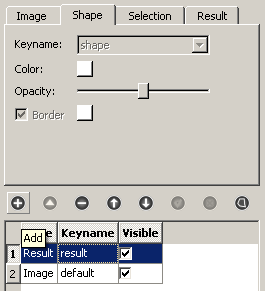
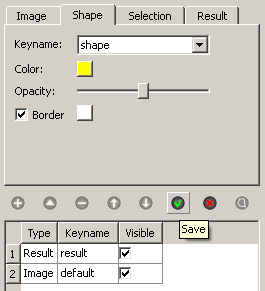
Loading the shapefile into the project
interimage/examples/example1.txt · Última modificação: 2012/07/06 01:05 por rsilva

